Whenever I have a photography student, one of the first questions they always ask is “what settings should I use on my camera?”. This sounds a simple question, but it can be quite complicated to explain, as depending on where you are shooting, what the weather is like, the time of day, and the kind of effect you want to achieve for your image, this will all affect the settings you would use on the camera. As you can see, there is no straightforward answer, but I will try to give an overview so that you can use this for any situation you find yourself in.
The first thing you need to know is how the camera controls the amount of light that reaches the sensor on your camera. It does this by adjusting a combination of 3 things, shutter speed, aperture and ISO.
Shutter Speed: this is how long the shutter is open for and thus how long the sensor is exposed to light. The shutter speed is measured in seconds and fractions of a second. A shutter speed of 1” (1 second) is quite a long shutter speed and lets in lots of light – a brighter photo (and would result in a blurry image if not using a tripod). Whereas a shutter speed of 1/200 (one two-hundreds of a second) is quite a fast shutter speed and will let in comparatively less light – a darker photo (this will also freeze a faster moving scene).
Aperture: the aperture is the hole in your lens that lets light through to the sensor. The larger the hole (lower F value, wide open), the more light is let in, the smaller the hole (higher F value) the less light is let in. Very much similar to how the iris in your eyes work. How wide open your lens can go is determined by the lens itself, and is indicated by the F value. An entry level lens might only be able to open as wide as F4, whereas a pro lens might be able to open as wide as F1.2 (very wide open), meaning the lens would be able to let more light into the sensor (great for shooting in low light conditions). How wide open the aperture is also changes how much of the image is in focus and how much the background or foreground is blurry. A lower F-number, the more blurry the background / foreground will be. Conversely, a higher F-number, the more in focus the background / foreground will be. This is can be useful when you wish to have clear separation between the subject and the background by using a very low F-number such as F2.8.
ISO: this is essentially the light sensitivity of the sensor and depending on the ambient lighting conditions this will play a part on which ISO setting you use. ISO 100 is used for bright conditions where there is lots of light. ISO 800 on the other hand is used for lower light conditions where there is not much light, as the higher the ISO setting the more sensitive it is to light. If you took two photos with exactly the same aperture and shutter speed but changed the ISO between 100 and 800 you would find that the photo at ISO 800 would be much brighter than at ISO 100. The image quality would also be much more grainy as the higher the ISO setting the more grainy the image becomes, this is not very desirable to portrait photography as you want to achieve clear sharp images (unless you want grainy images – something which could be artistic, but you can add grain later in PS so it’s not necessary to shoot high ISO to deliberately get grainy images). So shooting at the lowest possible ISO setting is almost always desirable as this results in the highest quality image.
On your camera there are 5 main ways that aperture, shutter speed and ISO are controlled. AUTO, P (Program mode), Tv or S (Shutter Priority mode), Av or A (Aperture Priority mode) and M (Manual mode). When shooting models and portraits I always use Manual mode, as this gives the greatest amount of control and consistency when shooting. It enables you to control every setting on your camera precisely so that you can craft the perfect image.
There is however, not a magic rule that says for each lighting setting you should use a specific combination of camera settings. The reason for this is that you can take two photos that are both identical in exposure but use different shutter speed, aperture and ISO settings. I like to think of shutter speed, aperture and ISO as a balancing scale, the perfect exposure is a combination of these 3 settings, but if you change one of these settings you would need to change one or both of the others to get the same perfect exposure. For example:
If the perfect exposure for a specific scene were 1/125, F8, ISO 100, you would also be able to achieve the same exact exposure at 1/160, F7.1, ISO 100. The reason for this is that as you have increased the shutter speed from 1/125 to 1/160 you have reduced the amount of light reaching the sensor, to compensate for this you could either make the aperture wider to let in more light or increase the ISO to make the sensor more light sensitive. In this case we have made the aperture wider by changing the F-number from F8 to F7.1 (as we don’t want to increase ISO unless absolutely necessary).
As you become familiar with playing with these 3 settings and how changing a combination of them affects the photo you will be able to roughly know what settings you need for each situation. You can then take a test photo, see how it looks on the back of the camera, and if it’s over or under exposed you can adjust either the shutter speed or aperture or ISO to get the exact exposure you want. This means you will never need to shoot in AUTO mode or worry about photos being incorrectly exposed. This will reduce post-production work and you will have far more usable photos from a shoot.
Many people like to use a Light Meter to read the ambient brightness at their subject and then it tells you what settings to use on your camera. I have used one before, but to be honest I think it’s completely unnecessary to use. As mentioned in the previous paragraph you can take a test photo and check the exposure on back of the camera, you can then adjust the settings to be exactly as you wish without having to be stuck to the settings that another device tells you that you need to use. It might look professional to a client using one, but it’s completely unnecessary now with digital cameras. If you look carefully in the viewfinder you will also see a small scale at the bottom of the viewfinder with a pointer that moves as you change the settings on the camera. This pointer is an indication of the exposure based on the current camera settings. If the pointer is in the middle of the scale then the image is correctly exposed, if the pointer is to the left or right of the middle it is underexposed or overexposed respectively. You can adjust either the shutter speed, aperture or ISO to bring the pointer to the centre of the scale. Remember, this is only a guide though, as depending on the effect you wish to have, or where the subject is in your photo, how bright the background is in comparison to the subject will mean the camera may think the photo will be over or underexposed when it actually isn’t.
A Note On Focal Points
I use the back button focus technique, this is where you remove the focus control from the main shutter butter in the “custom controls” in the camera menu and assign it to the AF-ON button or the * button (depending on your camera model) at the back of the camera. And then set the main focal point to one centre dot. Why do I do this? By setting the focus point to one dot you can control exactly where the camera focuses and then recompose the image in the viewfinder to get the desired composition. With portrait/model photography you ideally want to focus on the models eyes, if you have the focus linked to the shutter button it is easy to accidentally change focus after you have composed the image in the viewfinder and then have to re-focus again. This is also the case after you take every photo, you will need to re-focus and re-compose the image, which can become quite annoying. However, by changing the focus to the back of the camera you can focus one time, compose the image in the viewfinder and take as many photos as you like (providing the distance between the focal point and the camera doesn’t change) without having to re-focus for every photo. This creates a smoother shooting experience, the model can pose more freely and you won’t miss so many shots because the focus was not right.
RAW or JPEG?
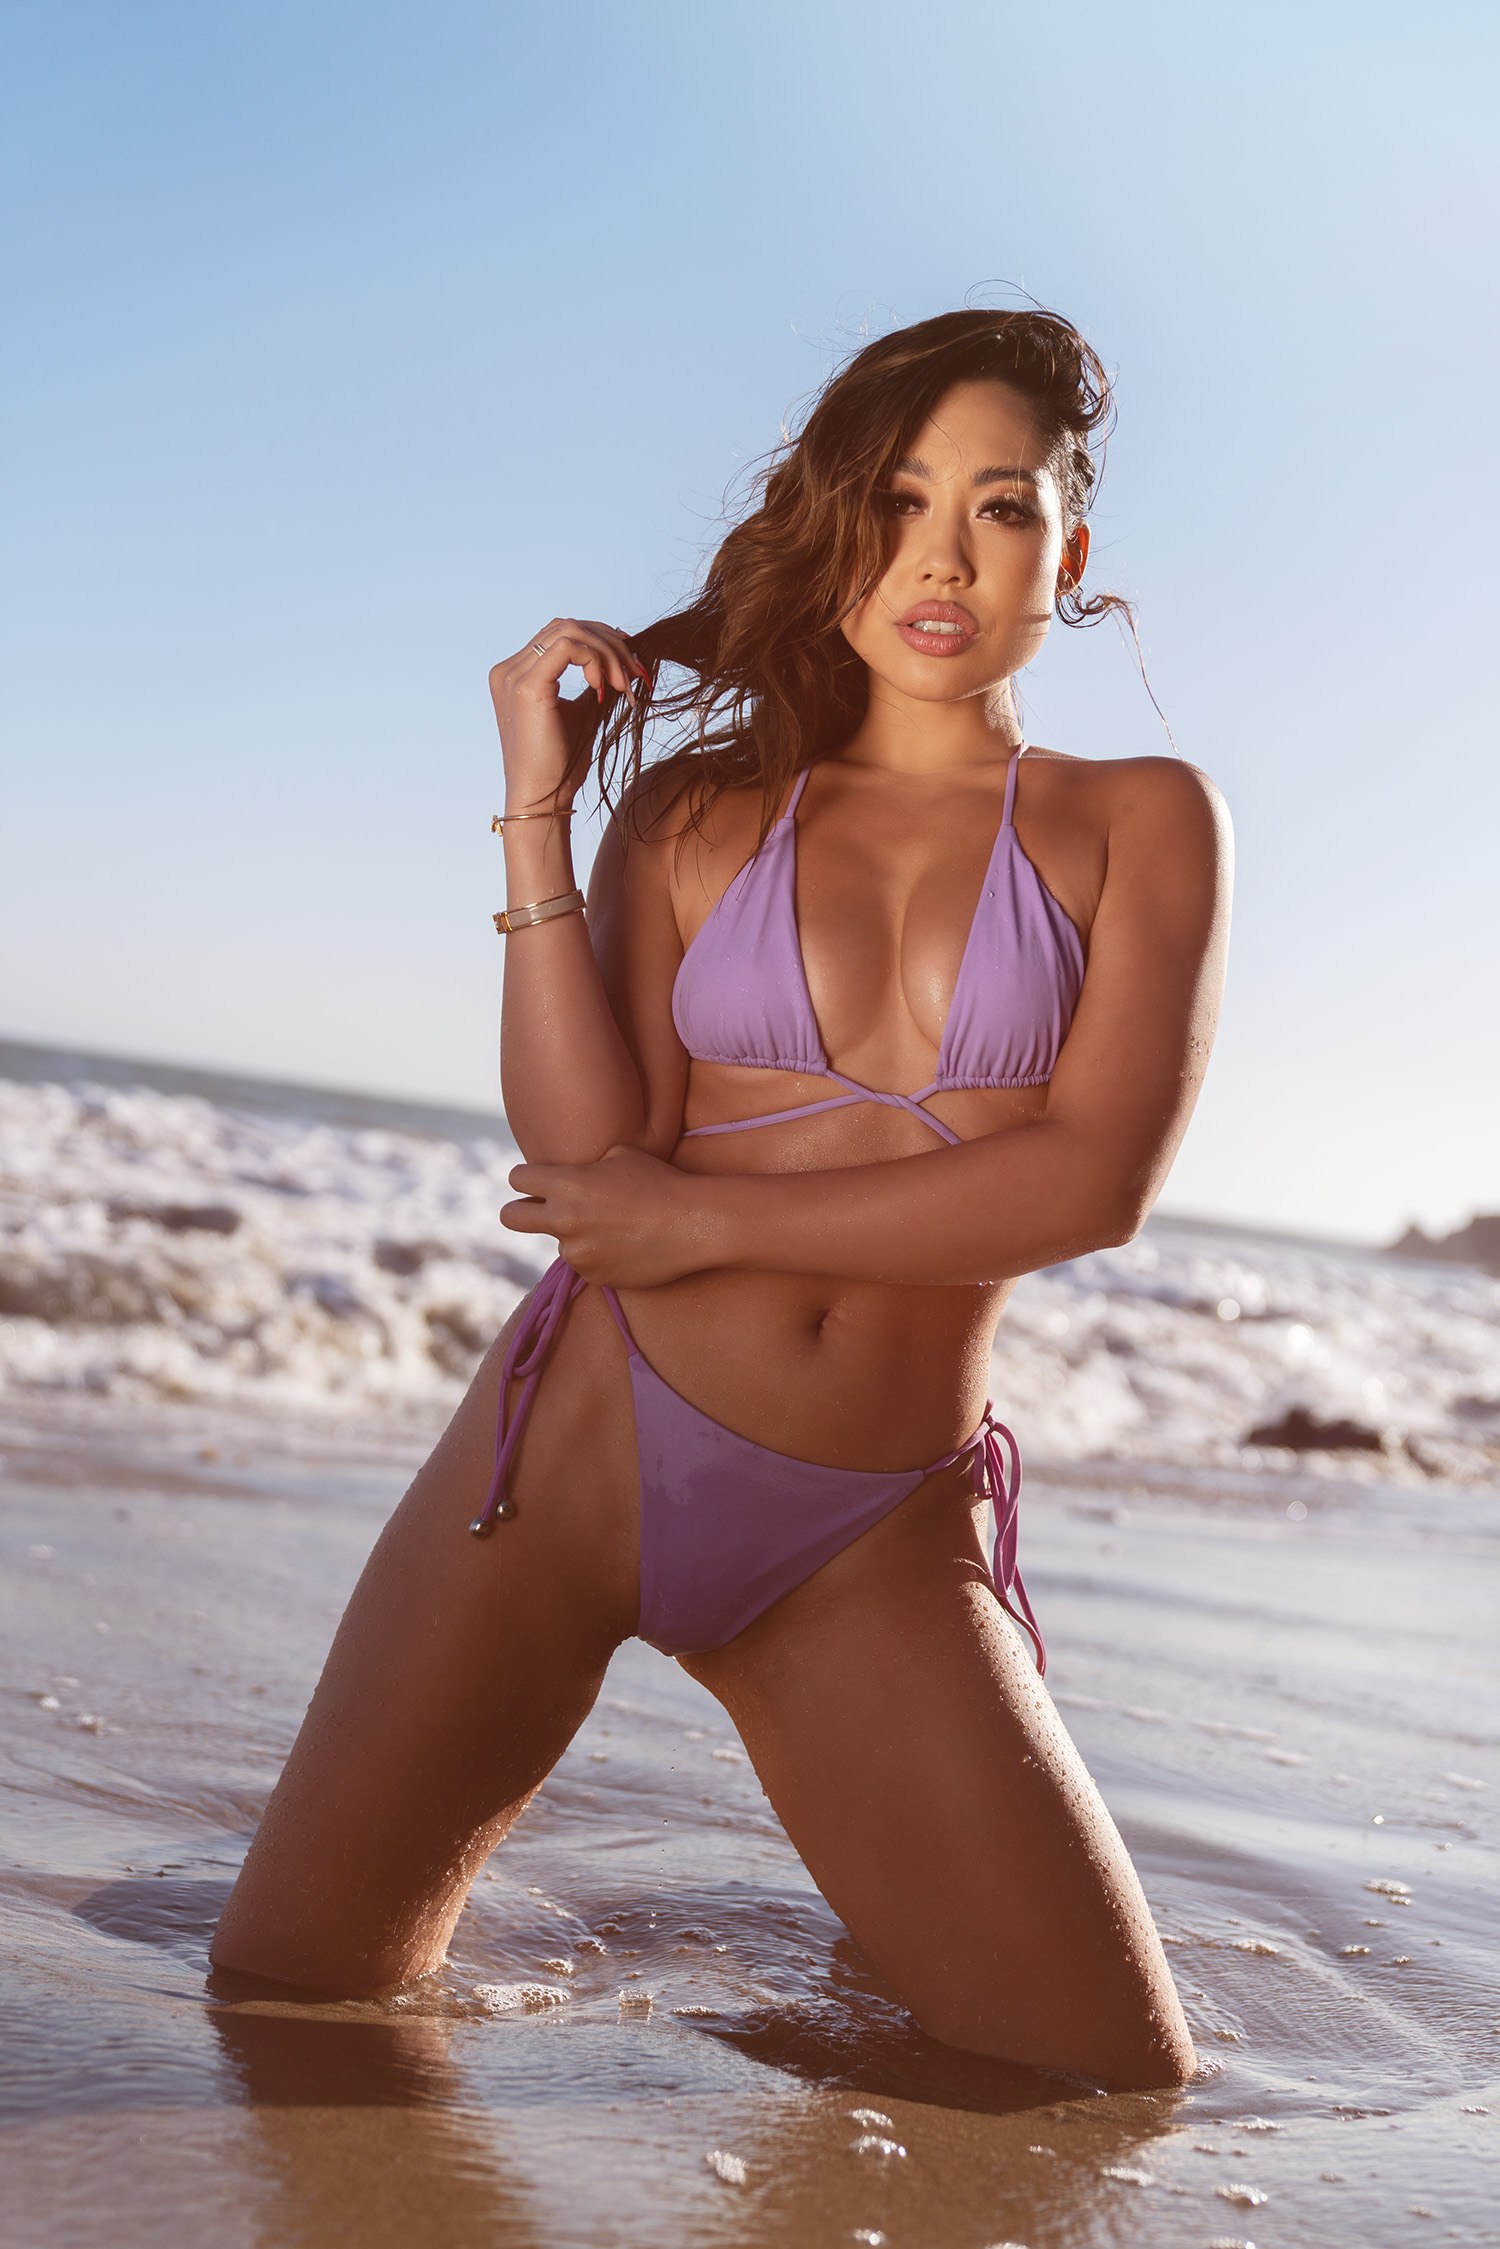
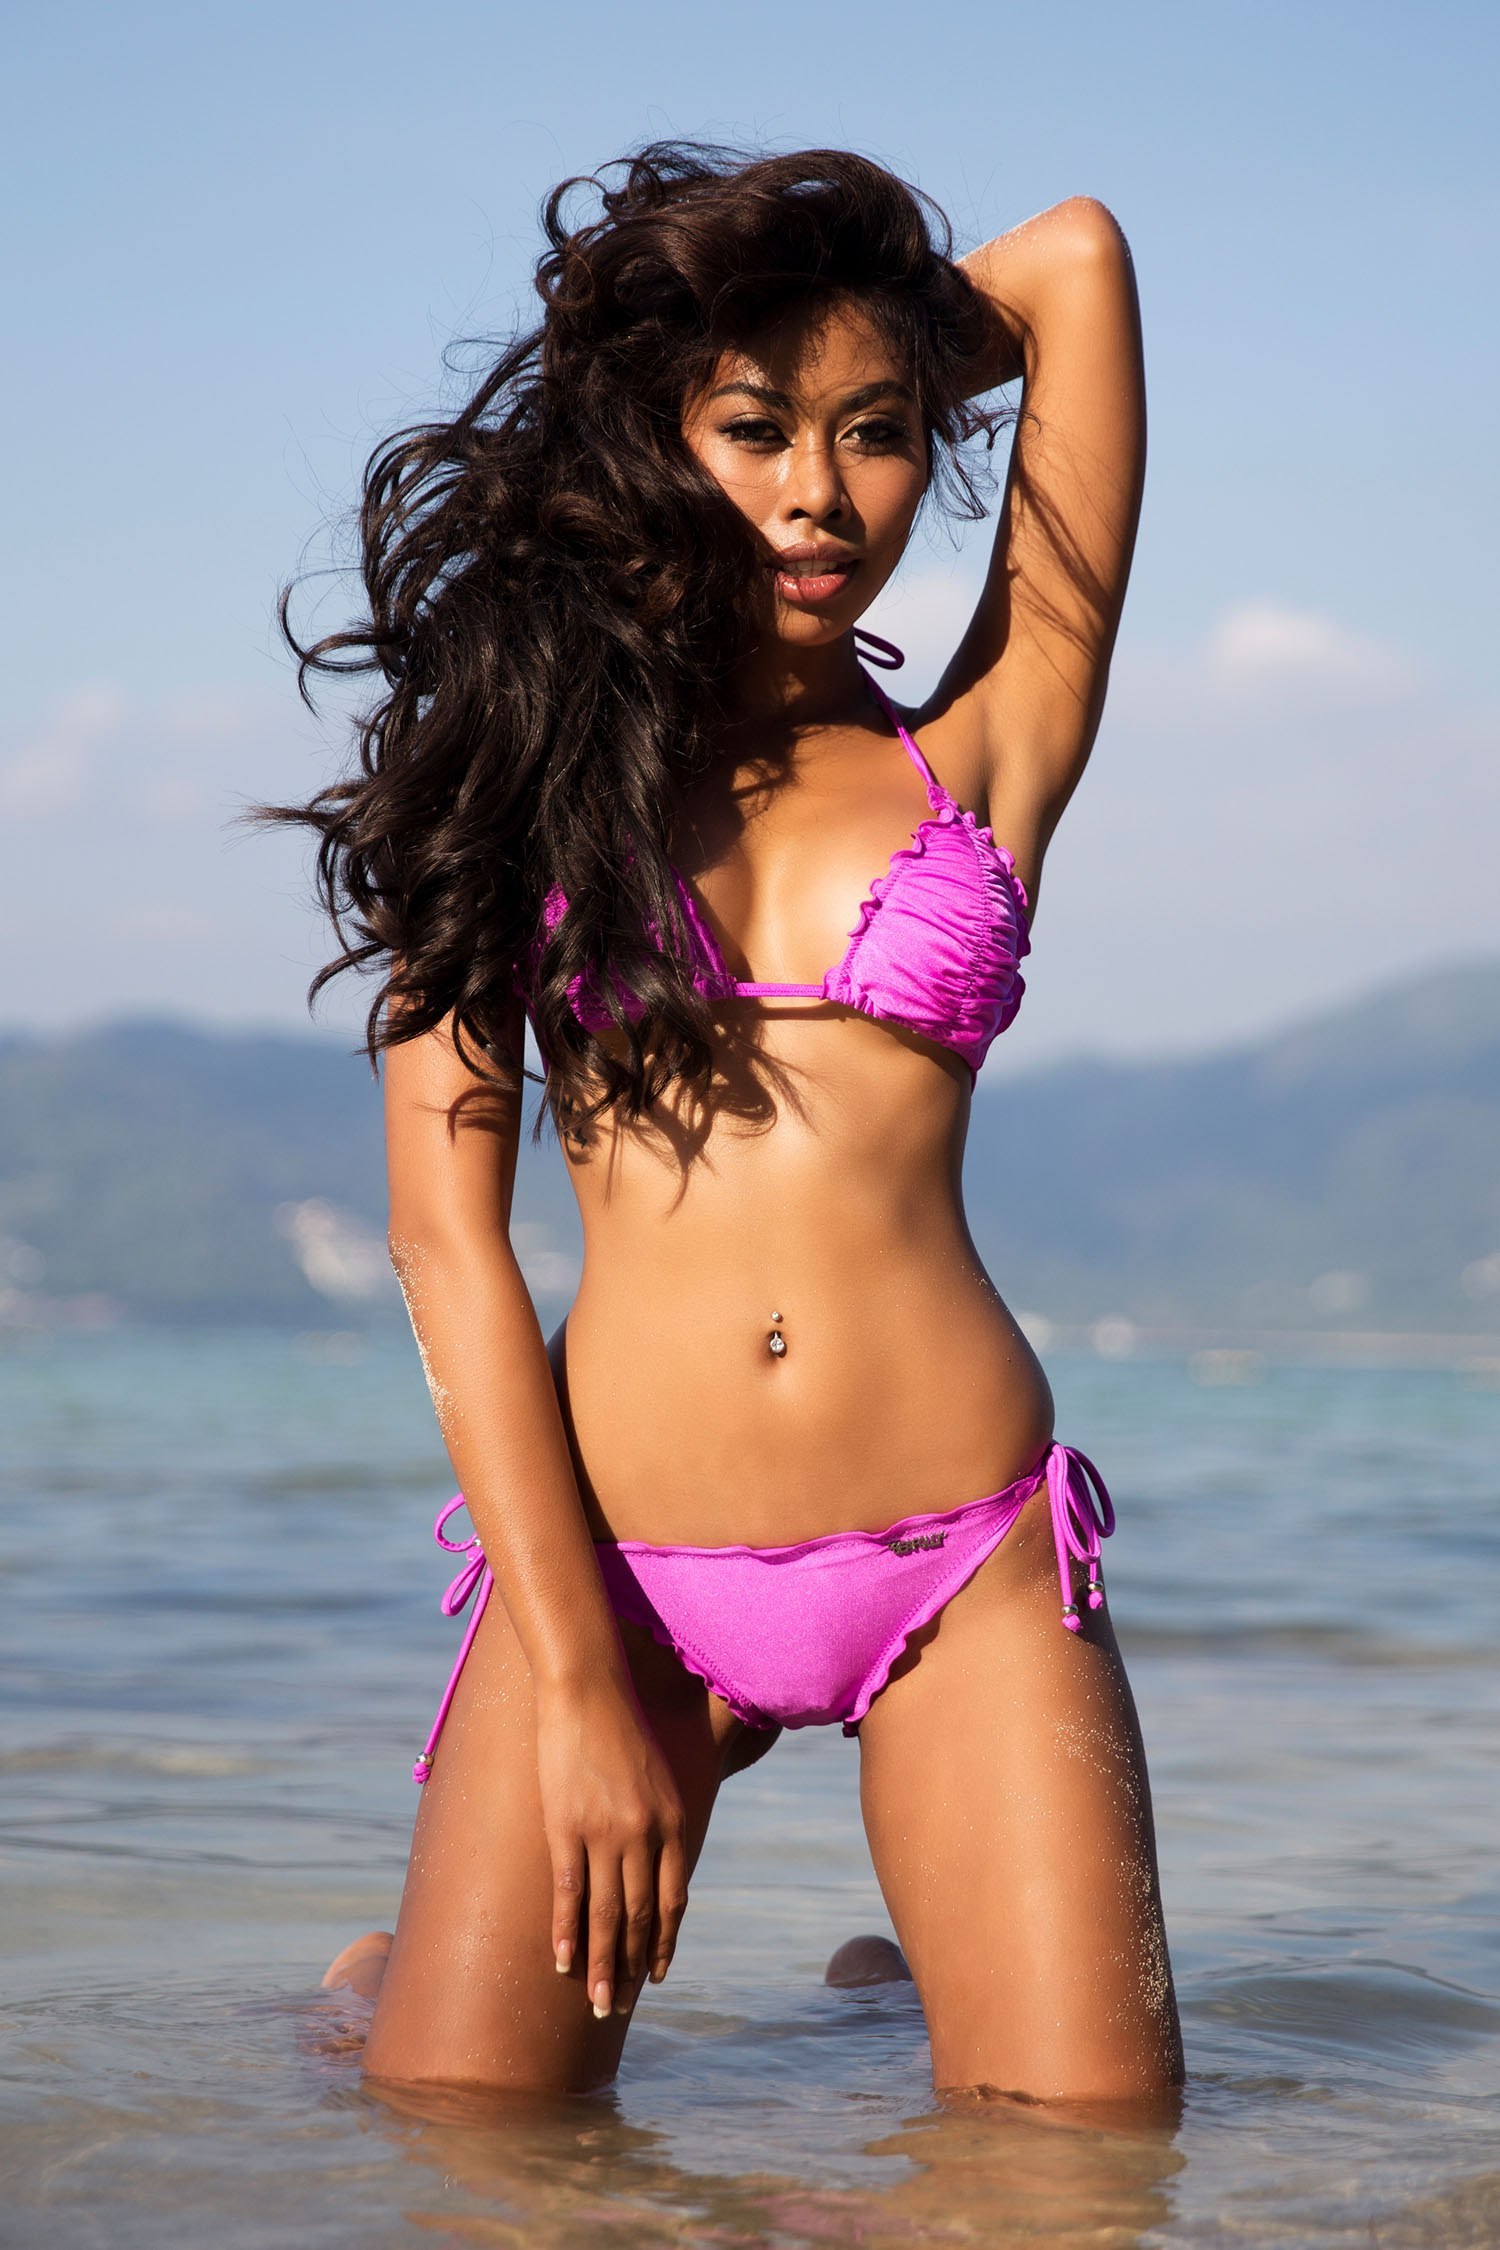
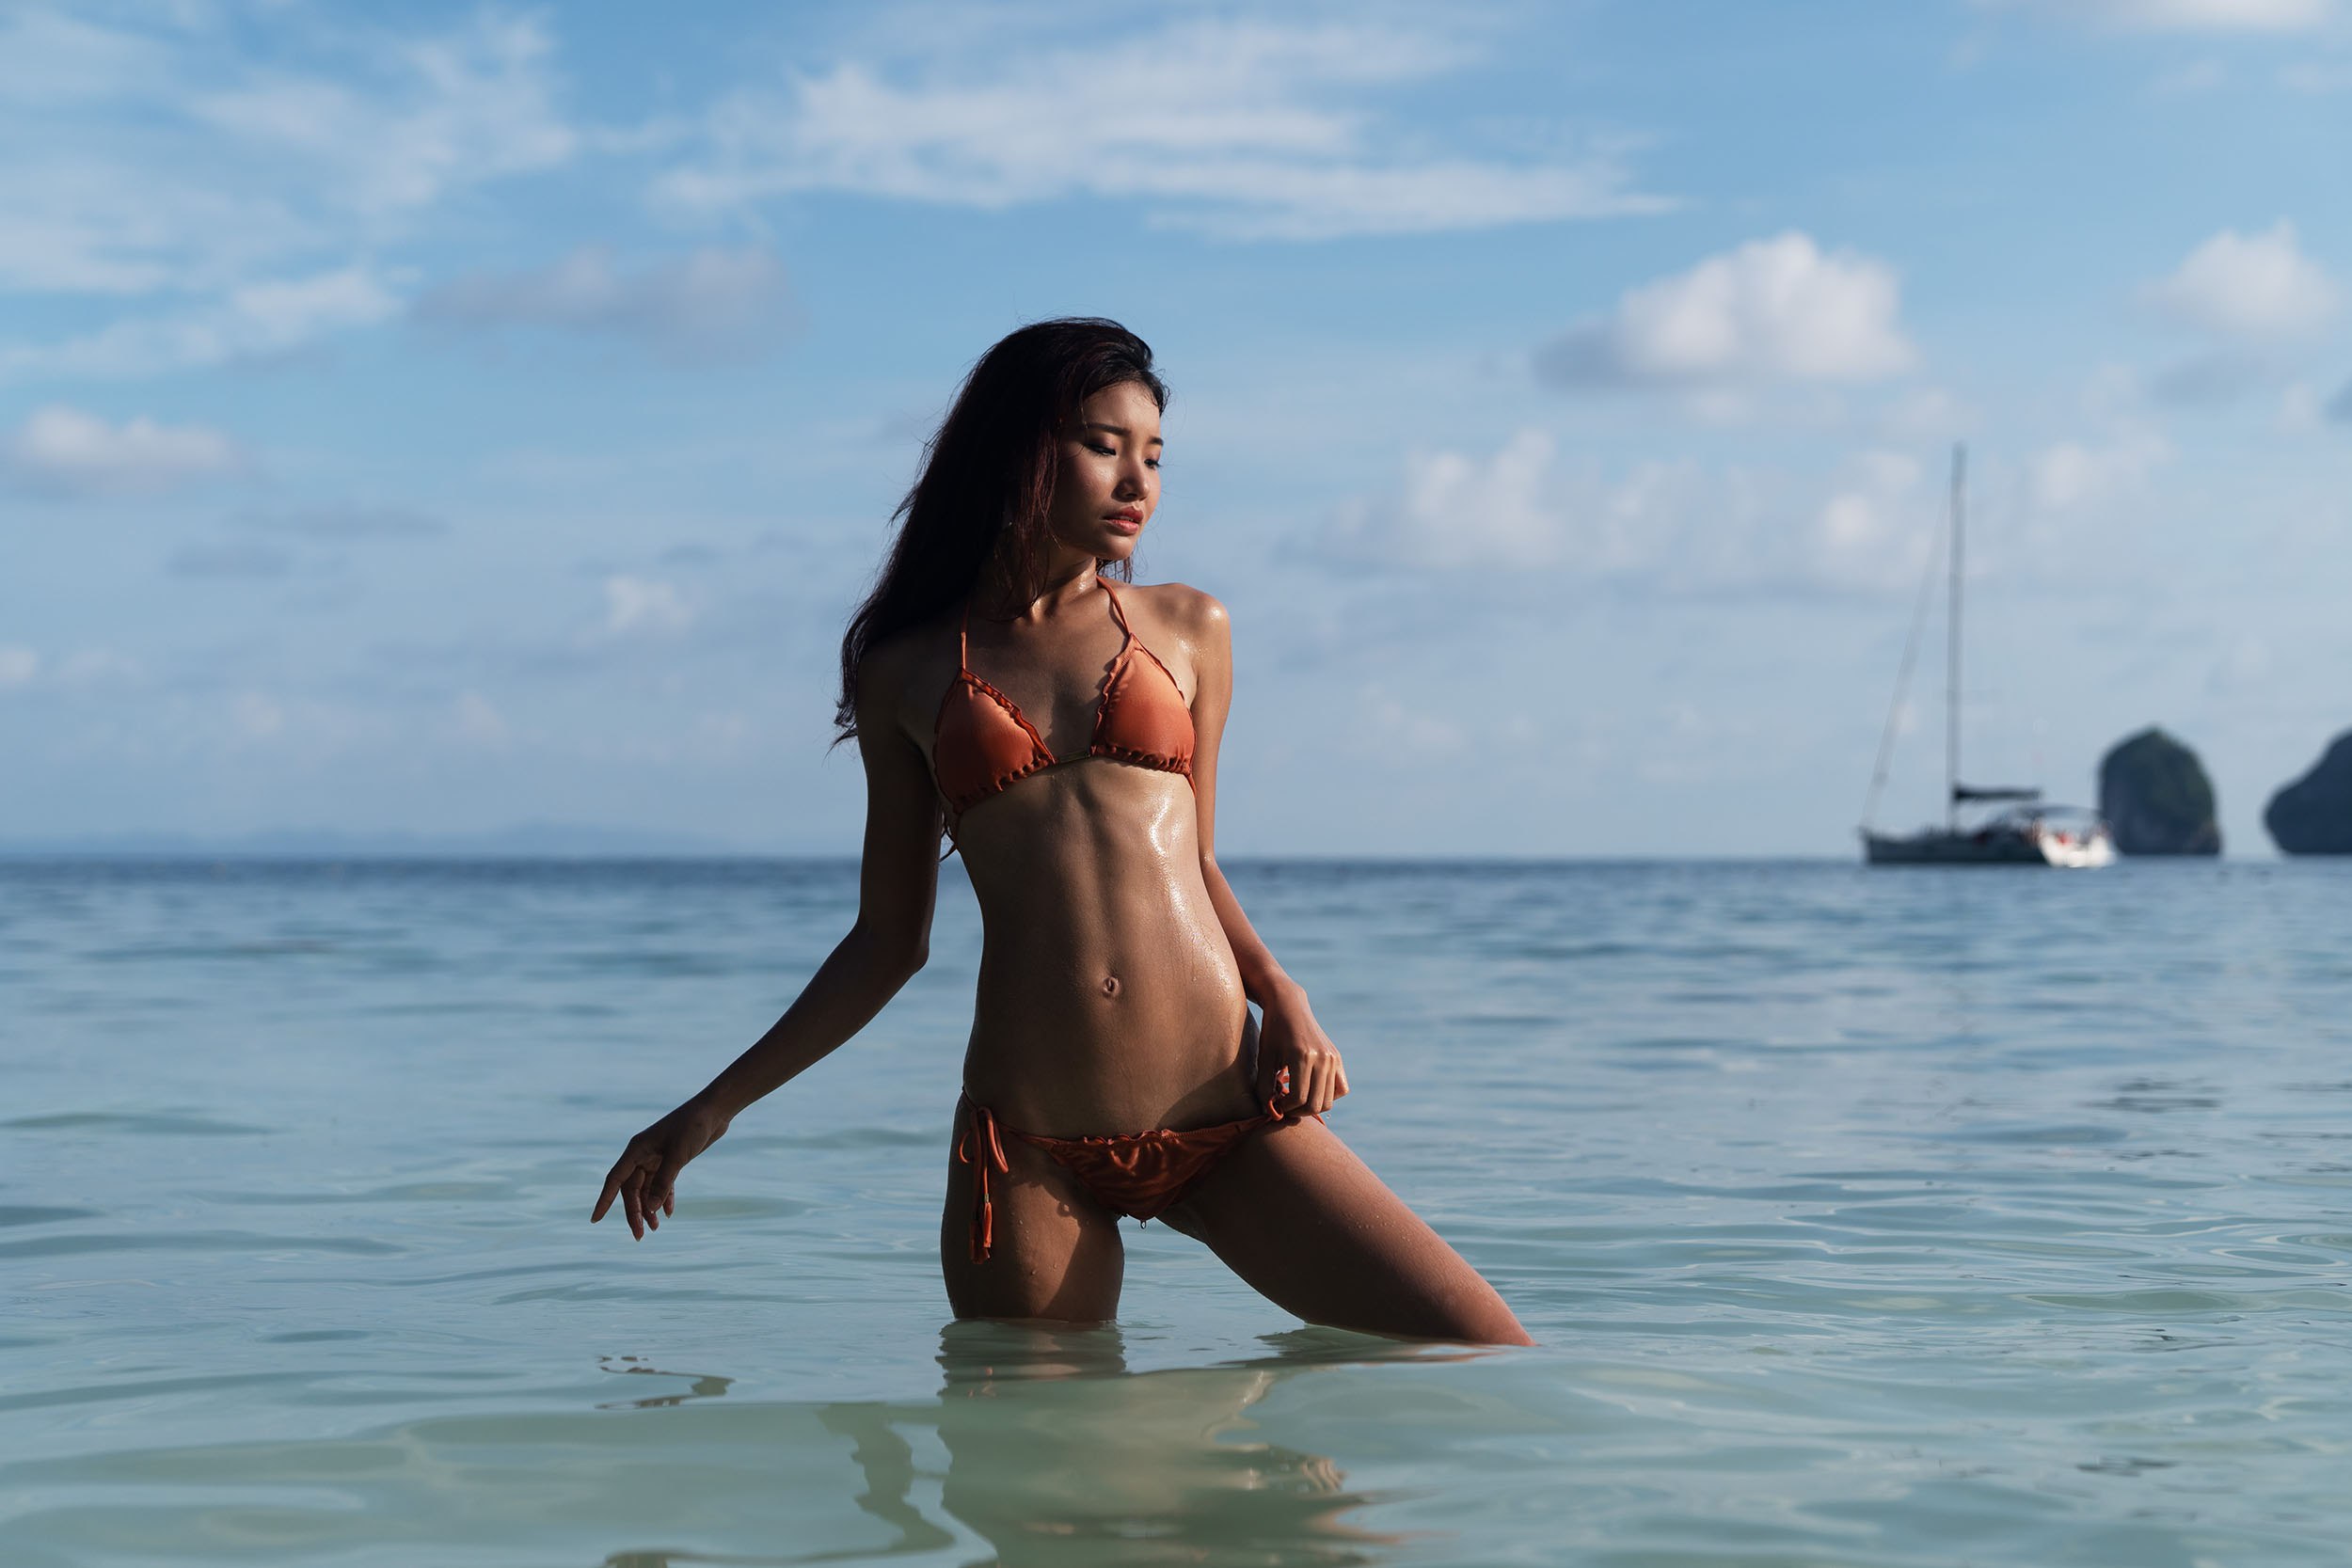
I always shoot in RAW. Shooting in RAW means that you have the most available data in the image before it is converted to JPEG. It also means that if you did over or underexpose an image you have more room to correct this in post-production than you do with a JPEG file. When shooting in very bright locations such as the beach it is always desirable to shoot in RAW because the extreme brightness can’t always be perfectly exposed for in the original photo, such as a very bright sky, even if the model is correctly exposed. You can then adjust the brightness of the sky in post-production to make it more pleasing.
In addition, a nice little article has been written by the chaps over at photographytalk.com which has some interesting ideas for portrait photography camera settings:
Please send me tips on taking photography on weddings and celebrating events